Team and permissions
1 min. læsning
Invite colleagues to your organization on the Team page, and choose what each of them may do. You need the Manage team permission.
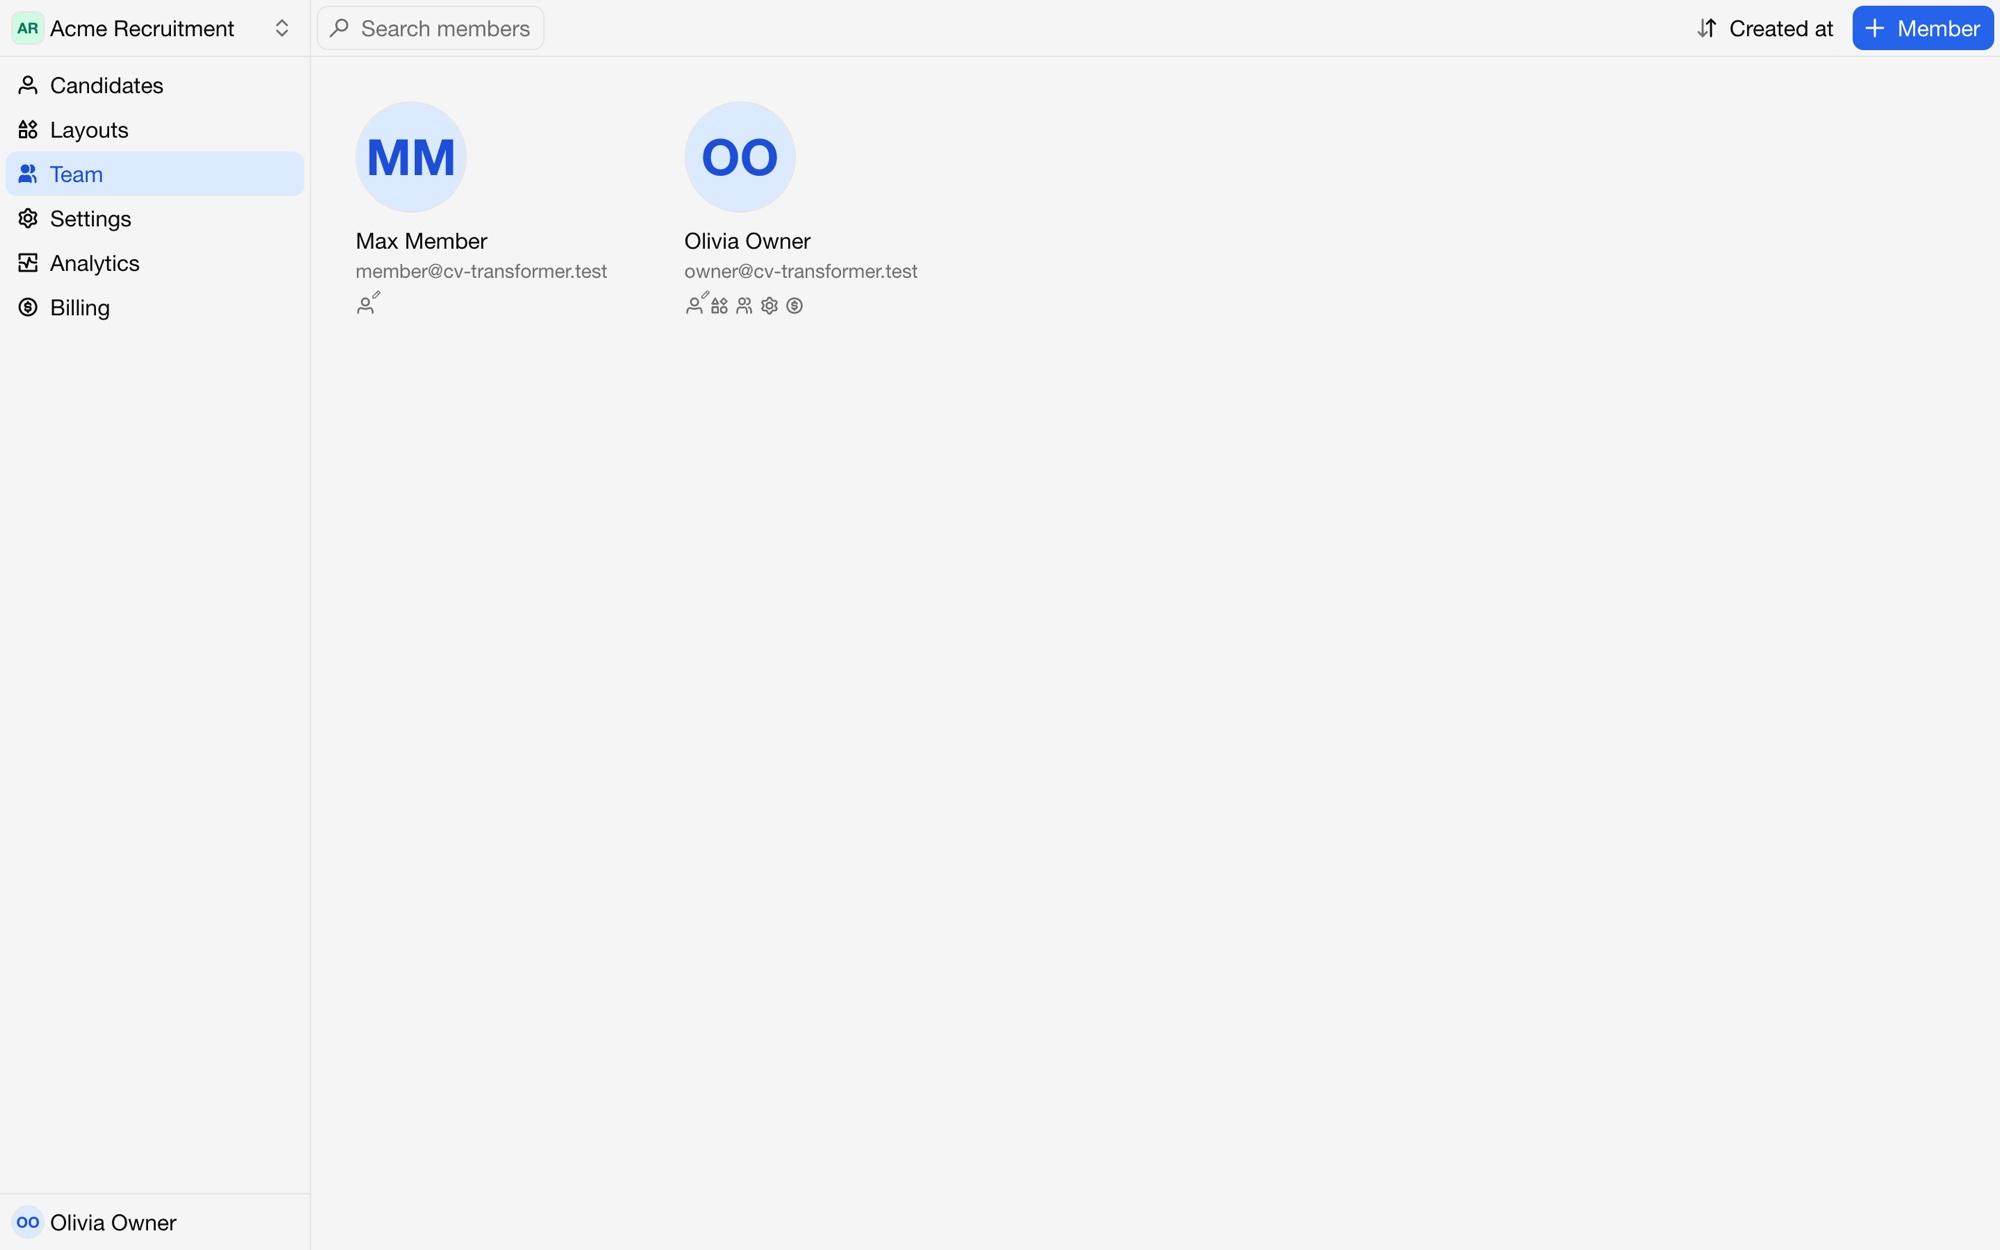
Inviting members
Click Member, fill in the colleague's name, email address and language, and choose their permissions. They get an email to join, and sign in with a one-time code sent to their email address. Turn on Silent to add them without sending the email.
Until they sign in, they show as Invited; Resend invitation sends the email again.
Permissions
Candidates: View: see candidates and their proposals.
Candidates: Edit: also create, edit, share and delete candidates. On a subscription with user licenses, each member with this permission uses a license.
Edit layouts: create and change layouts.
Manage team: invite members, change their permissions and remove them.
Manage settings: change the organization's settings, integrations, API keys and webhooks, and see its logs.
Billing: see usage, buy credits and manage the subscription.
Change a member's permissions by clicking them on the Team page. An organization always keeps at least one member who can manage the team.
Layout variables per member
Add details per member, such as a phone number or job title, under Layout variables when you click a member. Layouts can show them for the candidate's contact as {{user.…}}; see Variables.
Removing members
Click a member and choose Delete member to remove them from the organization. To leave an organization yourself, choose Leave organization. Their candidates stay in the organization, without a contact.
Linking members to your ATS
With an ATS connected, link each member to their ATS user under Settings → Integrations, so candidates get the right owner in both. See the guide for your ATS.