Salesforce
CV-Transformer can be installed in any Salesforce environment in a couple of steps.
Installing the package
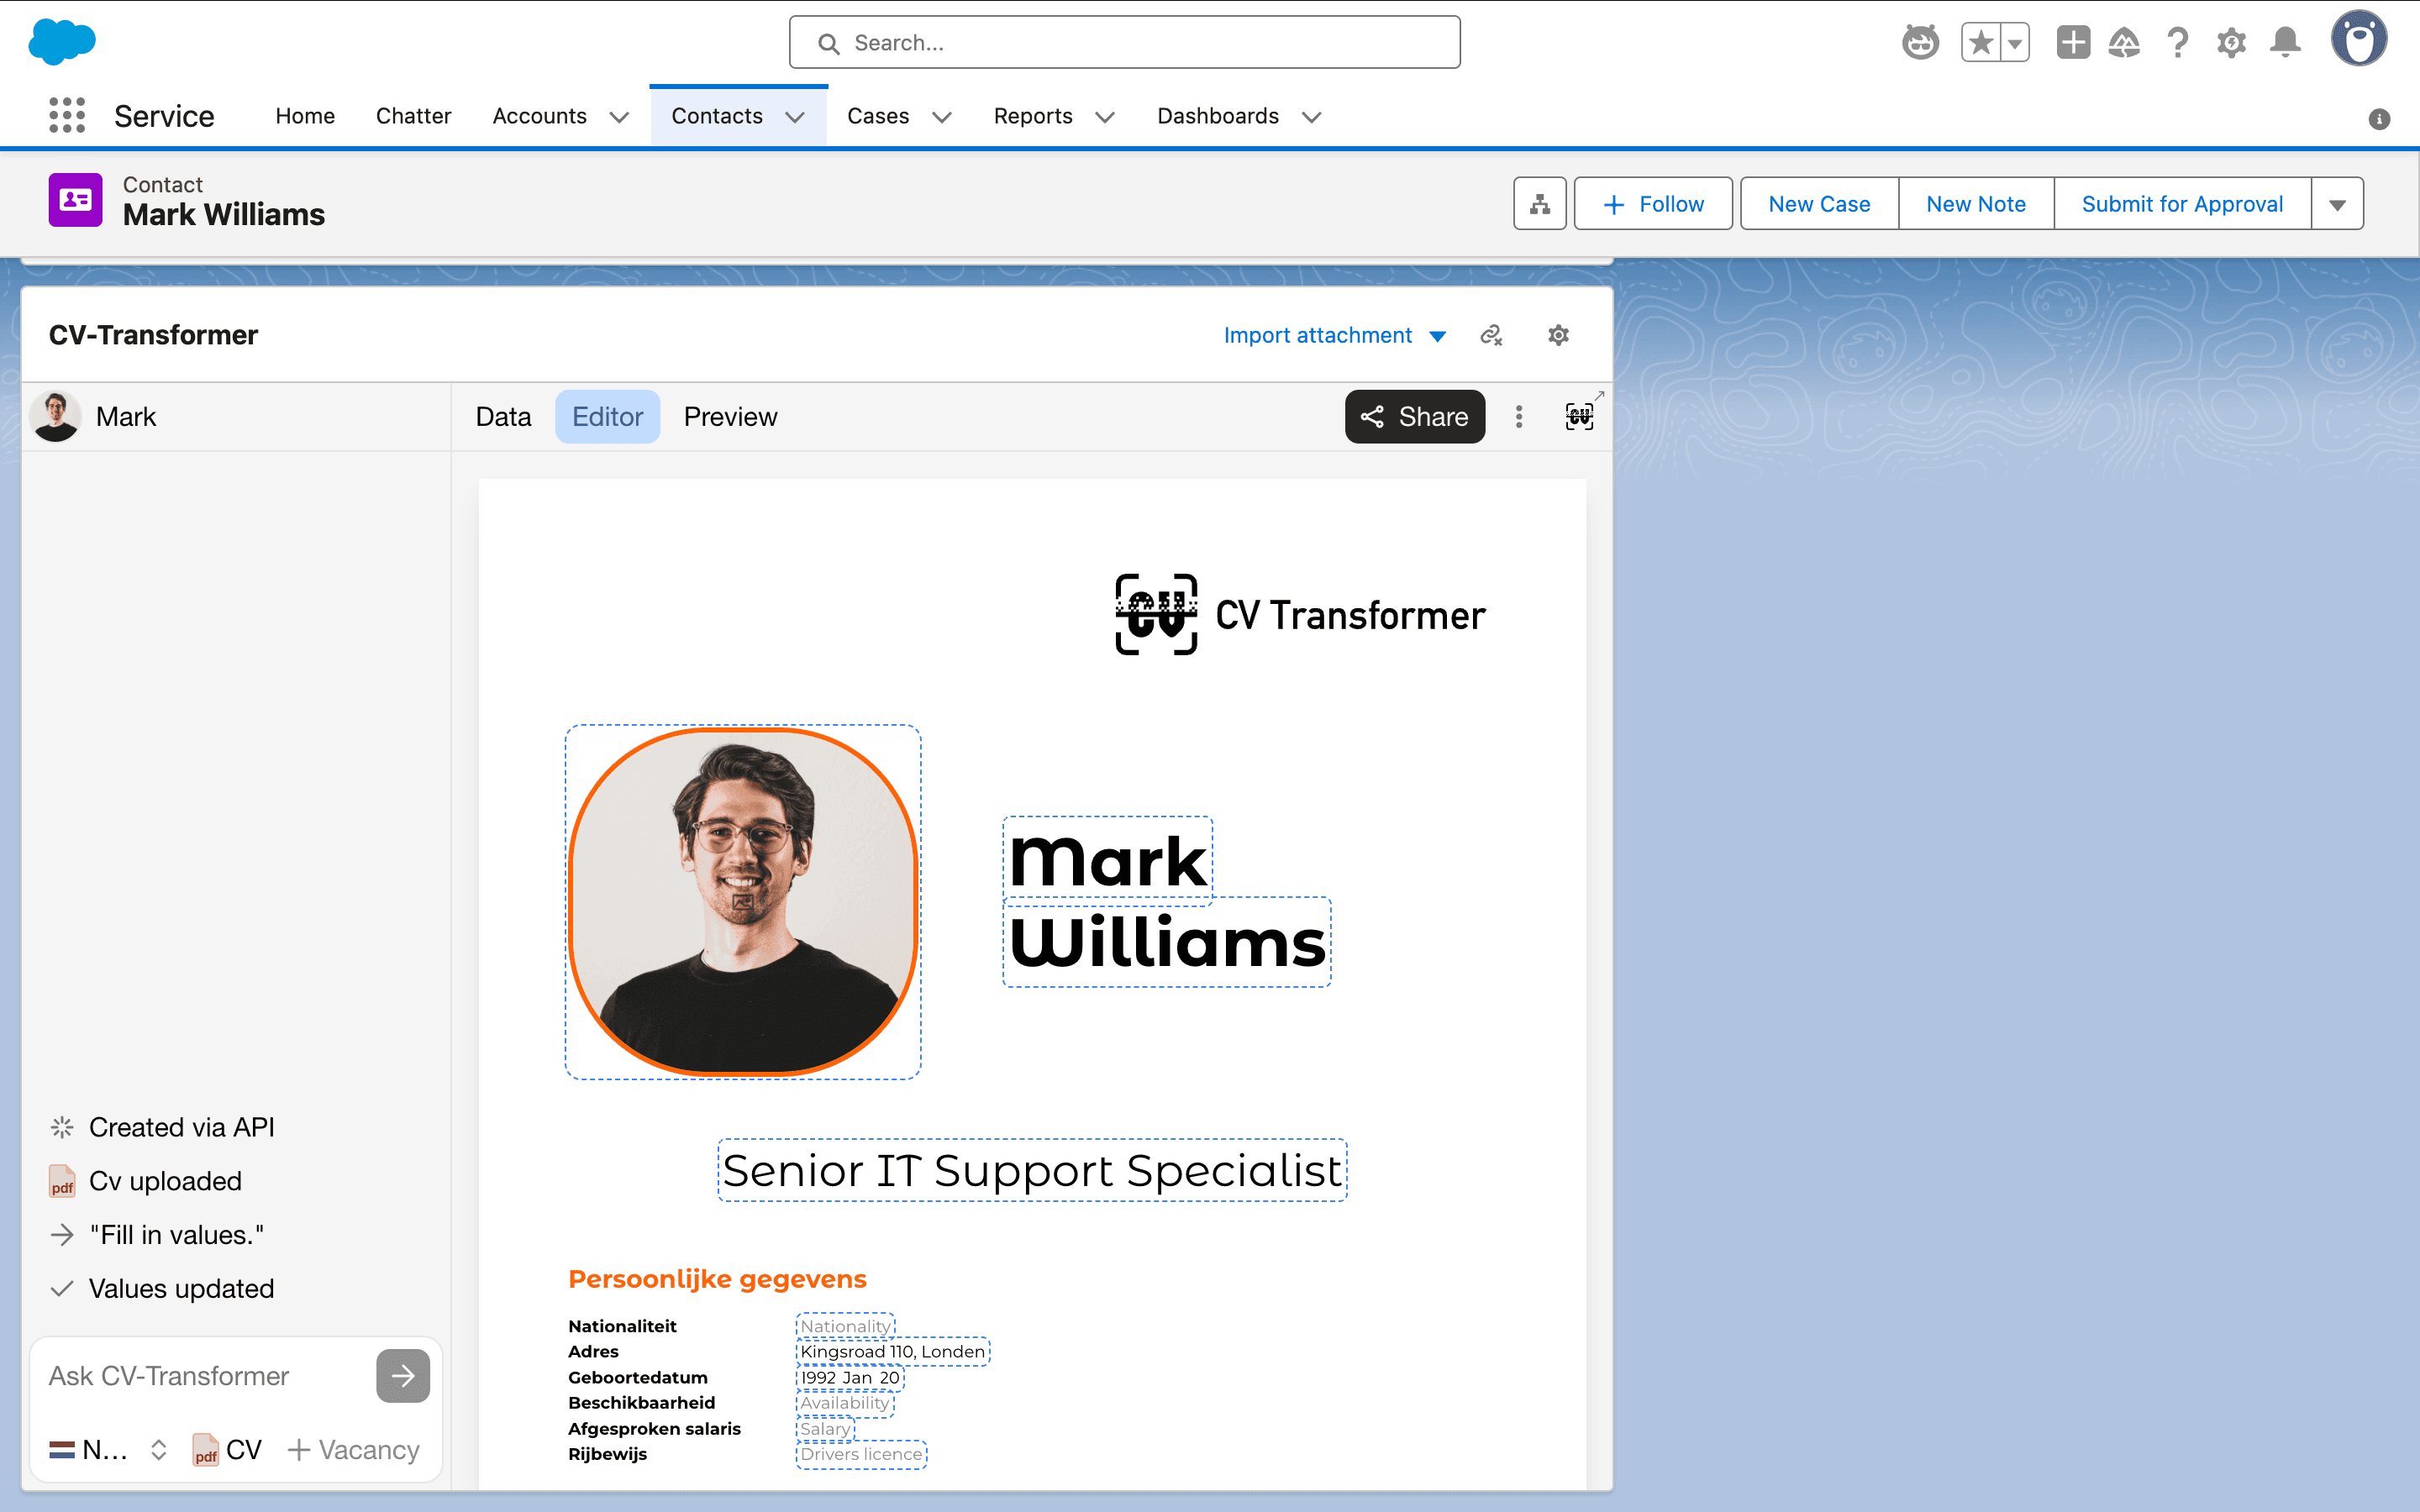
Embedding CV-Transformer into your Contact record page
Add CV-Transformer to your utility bar
Configuring permissions
Connecting to your CV-Transformer organization
1. Installing the package
Go to https://login.salesforce.com/packaging/installPackage.apexp?p0=04tgK0000007x3NQAQ
Log in with your Salesforce username / password Note: If this doesn't work, you might need to click "Use custom domain" first
Now, on the next page: Use password:
cvt1under "this app is protected by an installation key." Select "Install for all users" Check "I acknowledge that I’m installing a Non-Salesforce Application that is not authorized for distribution as part of Salesforce’s AppExchange Partner Program."
2. Contact page setup
Navigate to a contact record page
Click on the settings icon and then on "Edit page"
In the component list on the left, scroll down to the "Custom - Managed" section. From there, select CV-Transformer and drag it into the page in your desired position.
Save the page
3. Utility bar setup
Note the currently launched Salesforce app in the top-left corner.
Go to Setup > Apps > App Manager.
Select the app you just noted down.
Go to "Utility Items (Desktop Only)"
Now click "Add Utility Item" and under Custom - Managed, select "CV-Transformer Util".
You can adjust the settings there if you like, but the defaults should work just fine.
Now press "Save".
4. Configure permissions
By default, not every user / profile might have access to the CV-Transformer application.
To ensure that the right users / profiles have access, we have to perform 2 steps.
4.1 Sharing Rules
CV-Transformer creates a new object called CVTransformerConfiguration. This object has "Default Internal Access" set to "private" by default. This needs to be set to "Public read/write":
Go to Setup > Security > Sharing Settings
Under "Default Sharing Settings", click "Edit"
Search for "CVTransformerConfiguration" and set "Default Internal Access" (leftmost select box) to Public read/write.
Scroll back up and click "Save"
4.2 Object Permissions
Next we want all relevant profiles to have at least read access to the CVTransformerConfiguration object. To do so:
Go to Setup > Users > Profiles
Select the profile you wish to give access
Go to Object Settings > CVTransformerConfigurations
Click "edit" and enable the following permissions:
Object permissions: Read, Create, Edit, Delete Field permissions: Read access and edit access wherever possible.
4.3 Enabling profile access
Usually, this step can be skipped.
In certain cases, CV-Transformer may be visible to some profiles and invisible to others. In these cases, another setting needs to be adjusted:
Go to Setup > Apps > Packaging > Installed Packages
From the list of installed packages, select "CV-Transformer"
Click "View components"
From the list of metadata components included in package, select "CVTransformerApi"
Click "Security"
Under "Available Profiles", select all the profiles you wish to enable CV-Transformer for, click the button under "Add" and then "Save"
5. Connect CV-Transformer organization
Now that the components are installed and the permissions are set, it's time to connect the components to your CV-Transformer organization.
If you don't have an organization on CV-Transformer yet, start a free 7-day trial.
In your CV-Transformer organization, navigate to Settings > API keys
Create a new API key if you don't have one yet
Copy the API key
Back in Salesforce, navigate to a contact record page
Paste the API key in the input field and press "save".
You're all set! You can now create candidates and automatically transform CV's!
